Volgers

zondag 25 september 2022

Herfstkaart nav een video van Iced Images


Op facebook zag ik dit model langskomen en na het bekijken van de video heb ik deze herfstkaart gemaakt. Ik heb daarvoor Florence cardstock genomen, een donkerrode mat met Papicolor papier erop geplakt, design papier van Marianne Design Autumn Whispers en uit een die-cut boekje van vorig jaar Beauty of Fall van Studio Light de vogeltjes en de dennenappels. De elementjes heb ik met foamtape opgeplakt, zodat ze wat verhoogd op de kaart liggen.

Het model van de kaart heet Fancy fold Tower.


zaterdag 13 augustus 2022

Another Bumble Gnome card

 Being GDT for Last Minute Manda  id this my second card with Bumble Gnome.


I colored him with Copics and used a mini slimline die for the cardshape.

The designpaper is from Simple Stories and the cardstock comes from Vaessen Creative, the Autumn Collection. This paperpack has gorgeous colors to choose from!! 

I do hope you'll have as much fun coloring him as I had!


zaterdag 6 augustus 2022

Bumble Bee Gnome by Last Minute Manda

 De vraag of ik gast-designer wilde zijn voor Last Minute Manda, die een webshop heeft op Etsy. Als je LastminuteManda intikt op Etsy, kom je bij de webwinkel.


Voor mijn eerst kaart heb ik gekozen voor de bundel  Bumble Gnomes Back to school.


Voor de kaart heb ik cardstock gebuikt van 15,2 x 30,5, lekker geel en ik heb de stansmal van Studio Light de CCL-ES-CD175 genomen.


Het ruitpatroon gemaakt door de binnenste mal twee keer uit te stansen en die diagonaal op elkaar te plakken. Een Back to School achtergrondje van internet geplukt en zo was de kaart weer klaar.


Ik hoop jullie hier weer wat meer inspiratie te hebben gegeven.


dinsdag 7 juni 2022

Pop-Up vaas

Naar aanleiding van een tutorial bij Splitcoast Stampers van 22-05-22 heb ik de maten vertaald naar centimeters.


Nodig:

cardstock 21x 14,8 cm

cardstock strip van 1,8 x 9,9 cm

cardstock strip 1,3 x 5cm

Wit glad cardstock 8,4x 13 cm

gekleurd papier voor de matten: 2x  9,5x 13,5

designcardstock (voor de vaas) 6x 12,7 cm

designpapier ( voor de voorkant van de kaart) 9x 13cm


Stap 1:

het cardstock van 21 x 14,8cm dubbelvouwen 

Voor de voorkant een mat (onderste laag) van 10x13 cm en voor de bovenste laag een stuk designpapier van 9,5 x 13,5 cm op elkaar plakken en daarna op de buitenkant plakkenStap3:

Stap 2:
Versier de voorkant zoals gewenst, bijvoorbeeld met dezelfde bloemen als gebruikt in de vaas.

Stap 3.

Voor de rechterbinnenkant neem je het gekleurd papier van 9,5 x 13,5 cm en een stuk glad wit cardstock van 8,4 x 13 cm, en plak deze op elkaar en op de rechterbinnenkant van de kaart.

Stap 4.
Het vaasmechanisme:
Snijd designcardstock van 6x 12,7 cm en ril het op 2,5 cm aan iedere kaant. Draai je stukje cs en ril het aan beide smalle uiteinden op 2 cm,  BELANGRIJK tot op de rillijn van daarnet!!
de verhoudingen kloppen niet, maar de manier van rillen is wel goed!

Aan een kant knip je het middelste stukje weg, aan de andere kant de twee buitenste,

Doe dubbelzijdig tape op de twee uiteinden (de voorkant) draai alles om en doe dubbelzijdig tape op de enkele strip.


Stap 5,

Neem de strip van 1,8 x 9,9 cm en ril deze aan een kant op 1 cm.

Stap 6.

Plak deze strip aan de enkele tab en bevestig ook een stukje dubbelzijdig tape aan het andere (gerilde) uiteinde van de strook. Met de verkeerde kant van de vaas BOVEN plak je de strip met de vaas eraan TEGEN de vouw lijn van de kaart, Lijn de onderkant van de vaas goed uit met de onderkant van de kaart.

Doe de kaart dicht en druk goed aan!!

Stap 7.

Pak de strip van 1,3 x 5 cm en plak deze op 8 cm van uit de middenvouwlijn OVER de lange strip. Dit is de stop!!!!
De vaas ligt nog binnenste buiten plat op je kaart.


Stap 8.

Vouw de twee strips van de vaas naar achteren, doe een klein beetje fotolijm op de de flapjes. Terwijl je alles naar binnen vouwt, (heel voorzichtig) plak je de vaas vast door de kaart dicht te doen. Als je nu alles weer opendoet, komt het stukje papier als een vaasje omhoog.


Stap 9.
Snijd uit groen papier de stengels. 1 cm breed, daarna dubbelvouwen en vast lijmen.


Stap 10.

Stans of knip verschillende bloemen uit , plak ze op de stengels en schik ze in je vaas, nadat je nog wat blaadjes uitgestanst of geknipt hebt om die ertussen te steken.


Het filmpje van deze kaart kun je zien op:  https://youtu.be/xtzaisUFAkM
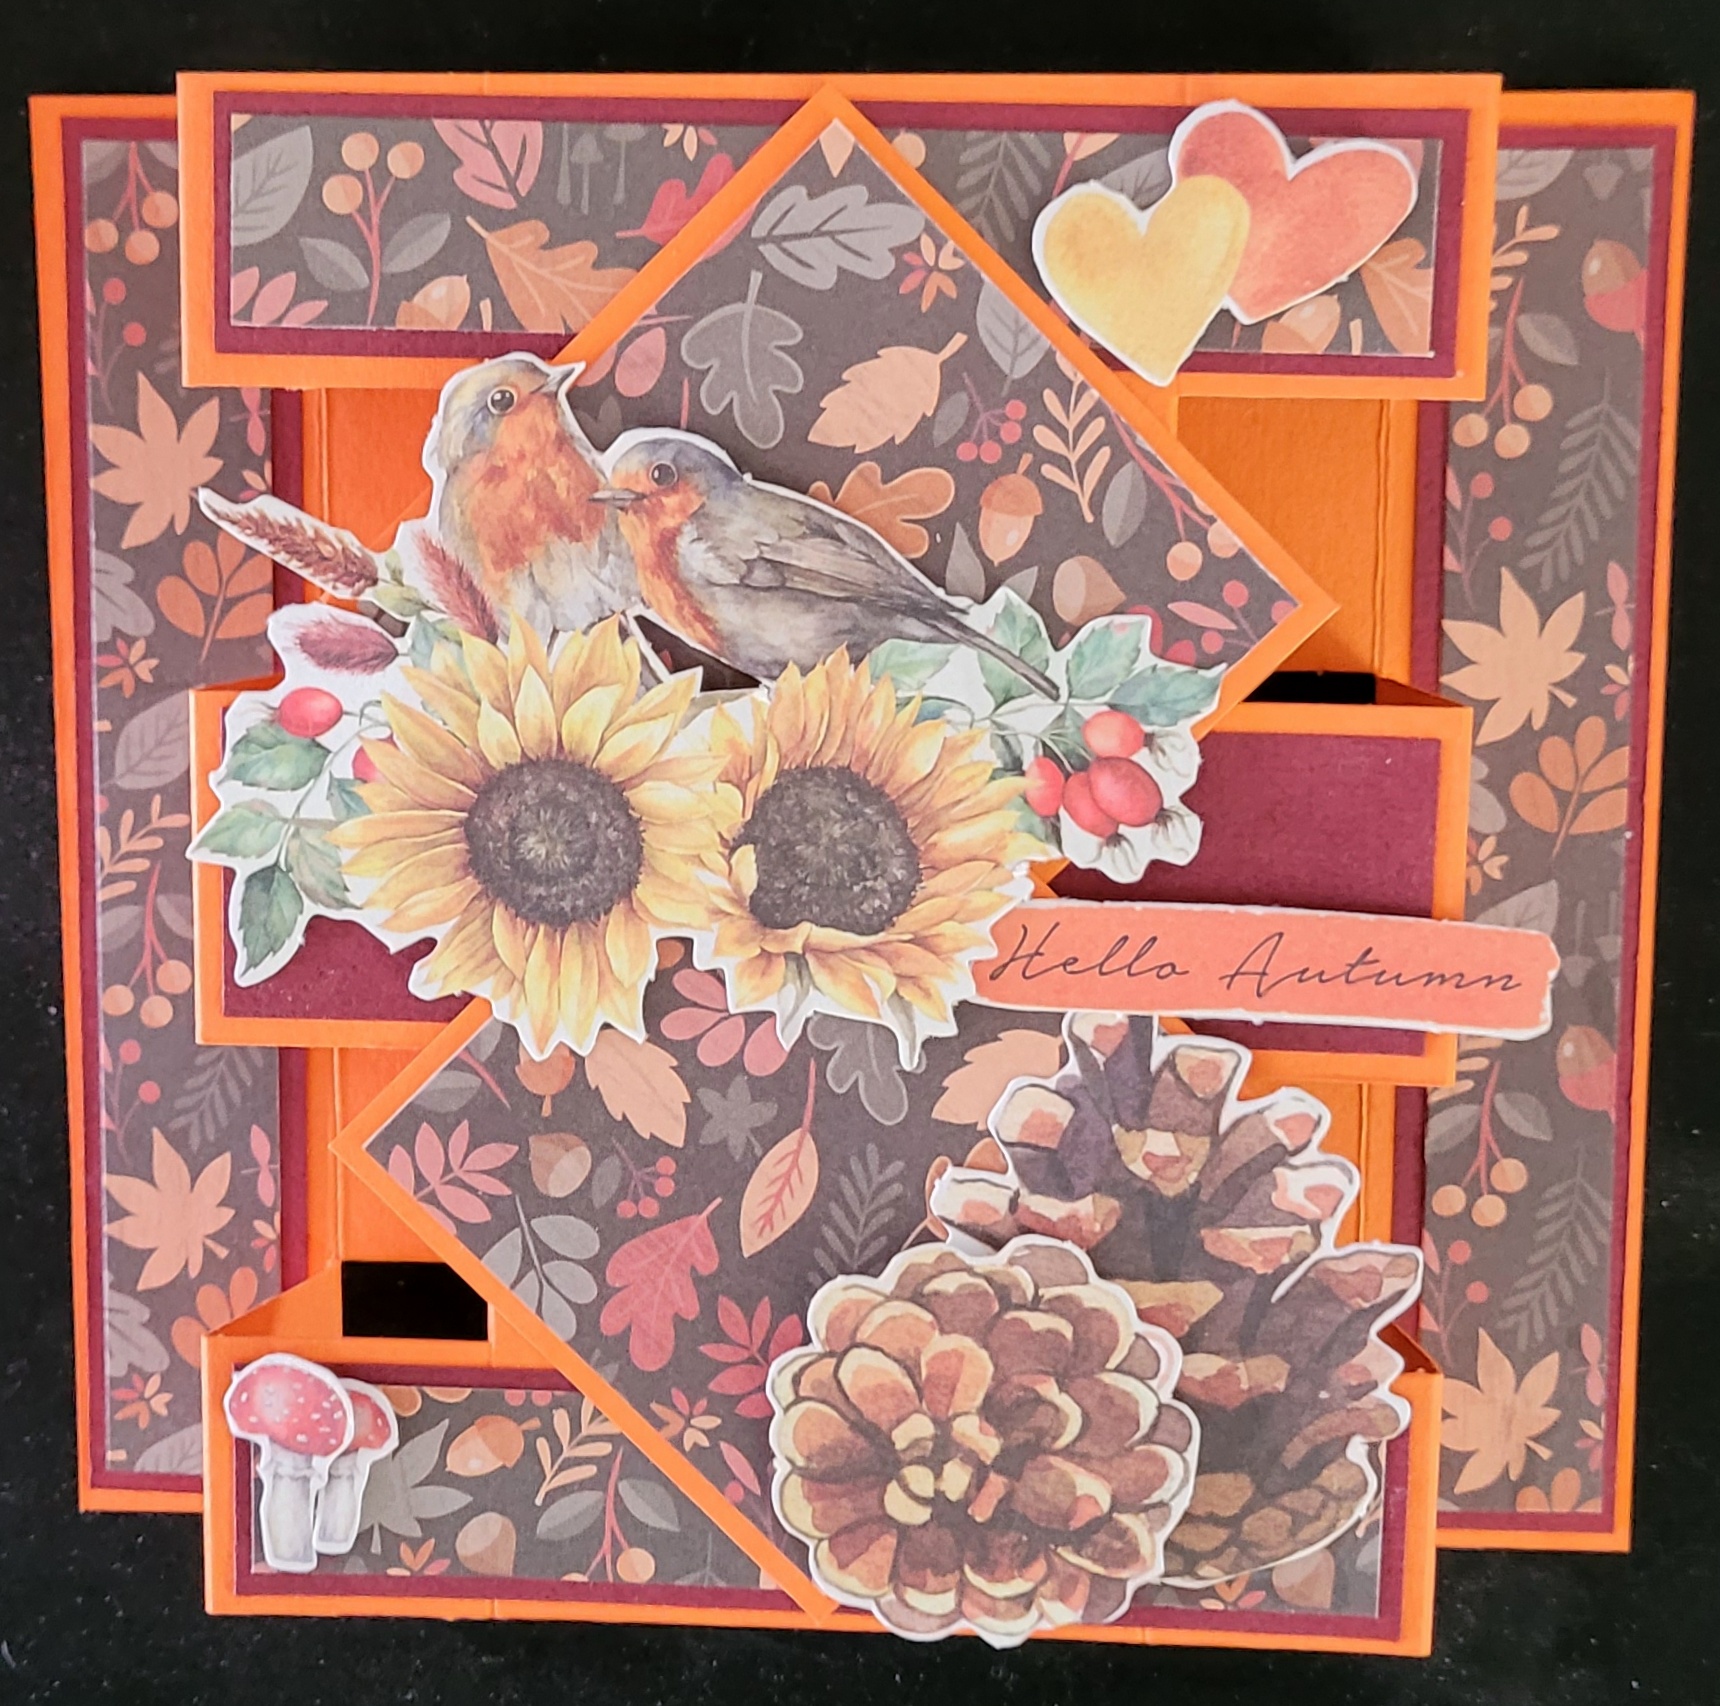

Nog een kaartje:


zaterdag 4 juni 2022

Mary Gol'ds Spring Bonnet Flower Pot Pretty

I didn't realise the time goes by so fast, so the image I got to colour for may I colored in June!! My mistake!!

It's one of the Flower Pot Pretties, always fun coloring!! I colored her with my Copics and wanted to go for deep blue and orange.


I have a deep blue flowerpot in my garden which is one of my favorites, now it contains Canna Cleopatra, with a reddish leaf.


I hope I've inspired you to make a project with this image!!


You can find this lovely image here in the shop:

 https://heathervalentinsartworld.weebly.com/store/p1946/Mari_Gold%22s_Spring_Bonnet_Flower_Pot_Pretty.htm

donderdag 19 mei 2022

Let's make waves SDJPC May 22


Anime let's make waves : Anime Mermaid Lets Make Waves - Stampers Delights

I decided to make a centerstep card with this great image, so I could ad some dies.

The blue card is perfect for a sea background, and the designpaper comes from a paper pad by Studio Light.

I gave her gold/blond hair and a green/blue bra, which I found perfect for a mermaid.

It was much fun coloring this mermaid, I hope when you'r coloring her, you'll have also much fun!


I hope to see your colored images on the site here:https://stampersdelights.podia.com/community/public


You can buy all mermaid images here: https://stampersdelights.com/.../fantasy.../mermaids/...

The card for the cardbase is 5,5" x 11"

Step 1:
Line the cardstock piece up in the papertrimmer so that the edge of the card is at the 1"mark, position the cutting blade at 1"and cut from 1"to 6,5"

Flip card over and do the same on the other side.

Step 2:
Place cardstock onto scoring tool and score along the long side of the card from the edge to the
cut line at 1", 2"and 6,5".

Step 3: 
Repeat step 2 on the opposite edge of the card

Step 4:
Score between the cut lines at 5,5".

Step 5:
Fold at the score lines. The first, third and center score lines are mountain folds. The second score line
 is a valley fold, Reinforce score line to make folds crisp. 


This tutorial I found at #SplitCoastStampers

https://avenue613.blogspot.com/
https://lemonshortbreadchallenge.blogspot.com/
https://challengeleannsworld101.blogspot.com/
Cute As A Button Challenge Blog:


donderdag 5 mei 2022

Chibi Salty Kisses by SDJPC


This month the theme is mermaids, those lovely creatures of the sea.
When I saw this cutie I had the idea to make a box card for her, with a seashore and some lovely seaweeds.

The design paper I used is a sea related one, with all sorts of sealife.

It was so much fun to color this cutie with my copics, especially because I bought a load of refills.
There was a discount of 15% at one of the stores (the only lesser part of the deal was, one has to buy for € 150,-- +, lol)

 
I like to join some of the challenges listed here:


https://avenue613.blogspot.com/
https://lemonshortbreadchallenge.blogspot.com/
https://challengeleannsworld101.blogspot.com/
Cute As A Button Challenge Blog:


zondag 1 mei 2022

Progressive Challenge May 22

 For this challenge I've worked with this cute Seahorse.

Each month on the 1st you will receive an email that will notify you of a new post which will be pinned to the top of the facebook page. You will also see a category which says "Products", the chosen image for the given month will be there ready for you to download, the product will disappear on the last date of that given month and on the 1st of the next month, another image will be available and the occasional bonus when we have any events.
PLEASE NOTE we will still be monitoring participation.
PLEASE JOIN HERE

I used one bigger image and two little ones, so it looks like a mom and two children...

The image is colored with copics and I used a die for the cardshape.
In my stash I found a dp which is perfect for this scene, a seasight, with some sand in front.
On the "sand" I glued some little shells, found on the beach.
I myself love the sea, and I had great pleasure making this one!
The image is coloured with copics and I used some embellishments from stock (have loads of little things, but don't remember where they come from)

I hope you'll like it!!!


I like to join some of the following challenges:


https://avenue613.blogspot.com/
https://lemonshortbreadchallenge.blogspot.com/
https://challengeleannsworld101.blogspot.com/
Cute As A Button Challenge Blog: